Good day my fellow fashion addicts! Today I'm going to show you how to make this cute hairpin (see picture above). It's very easy, here's what you're going to need for the first part:
- 1 Ribbon in a colour to your liking.
- 1 Hairpin.
- 1 Embroidery needle.
- A lot of embroidery thread.
- 5 beads.

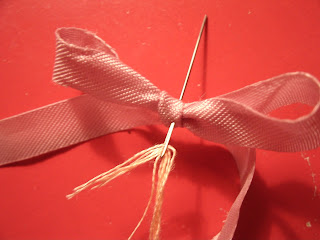
Step 5: It should now look as followed:
Step 6: Sew the shell onto the middle of your bow and cut the excess ribbon and embroidery thread.
Step 7: Once again put your embroidery thread through the needle. Then put a bead somewhere in the middle of the thread like this:
Step 8: Tie the bead securely in place (you might want to use more than one knot).
Step 9: Take both ends of the embroidery thread and tie an other knot (you can achieve this knot by wrapping the thread around your finger so that a circle appears and then pulling the end of the thread through the middle of the circle).
Step 10: take both ends of the embroidery thread and pull it through an other bead. Repeat this process so that you have two of these:
 You are now finished with the first part. For the second part we need clear glue and an old newspaper.
Step 11: Take all the pieces you've just created and glue them together on the hairpin like this:
Let it dry and voila! You have your own ribbon and shell hairpin ^^.


0 comments:
Post a Comment